如果使用 JupyterLab 或 Jupyter Notebook 時,是被加入在 anaconda 的 base 環境下,
但是 base 的 Python 版本又不是你想要的怎麼辦?
像我想使用 3.8 的版本
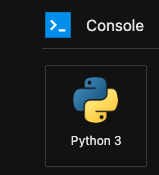
先點擊 Python3 Console
建立虛擬環境
conda create -n sample_env python=3.8然後要設定 Conda 虛擬環境的核心,設定前需安裝 ipykernel,才能控制 Jupyter 的版本核心。
conda install ipykernel第二步設定將虛擬環境加入 Jupyter 設定裡。
python -m ipykernel install --user --name sample_env --display-name "sample_env"回到新增的地方就會看到新的環境出現(記得重刷一下頁面)

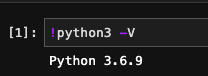
這時候你會發現…怎麼版本還是原來的 3.6?
我的朋友告訴我… python3 -V 只能在終端機上顯示
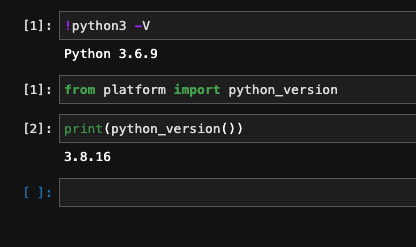
所以正確看版本的指令會是
from platform import python-version
print(python_version)
總之…程式開發的坑我來踩,免費的廣告點一個吧XD
更新
Create the virtual environment
conda create -n 'environment_name' Activate the virtual environment
conda activate 'environment_name' Make sure that ipykernel is installed
pip install --user ipykernel Add the new virtual environment to Jupyter
python -m ipykernel install --user --name='environment_name' To list existing Jupyter virtual environments
jupyter kernelspec list To list existing conda environments
conda env list To remove conda environment
conda env remove -n 'environment_name' To remove the environment from Jupyter
jupyter kernelspec uninstall 'environment_name'Reference from https://gist.github.com/swedishmike/902fb27d627313c31a95e31c44e302ac